15 Minimalist Halloween Nail Ideas to Copy This Fall
Halloween nails don’t have to mean long tips covered in glitter and tiny skulls. If your week is full of keyboards, meetings, or school pickup, a quieter manicure usually makes more sense: one dark accent, a thin orange line, a single small ghost. The fifteen minimalist Halloween nail ideas below are each built around one clear move, whether that’s a color, a shape, or one small detail, so they’re easy to copy at home or to describe to your nail tech. You’ll find glossy and matte finishes, short rounds and soft squares, and a few looks that need nothing more than a steady hand and a fine brush. Pick the one that suits your nails as they are right now.
Sheer Nude With One Black Accent Nail
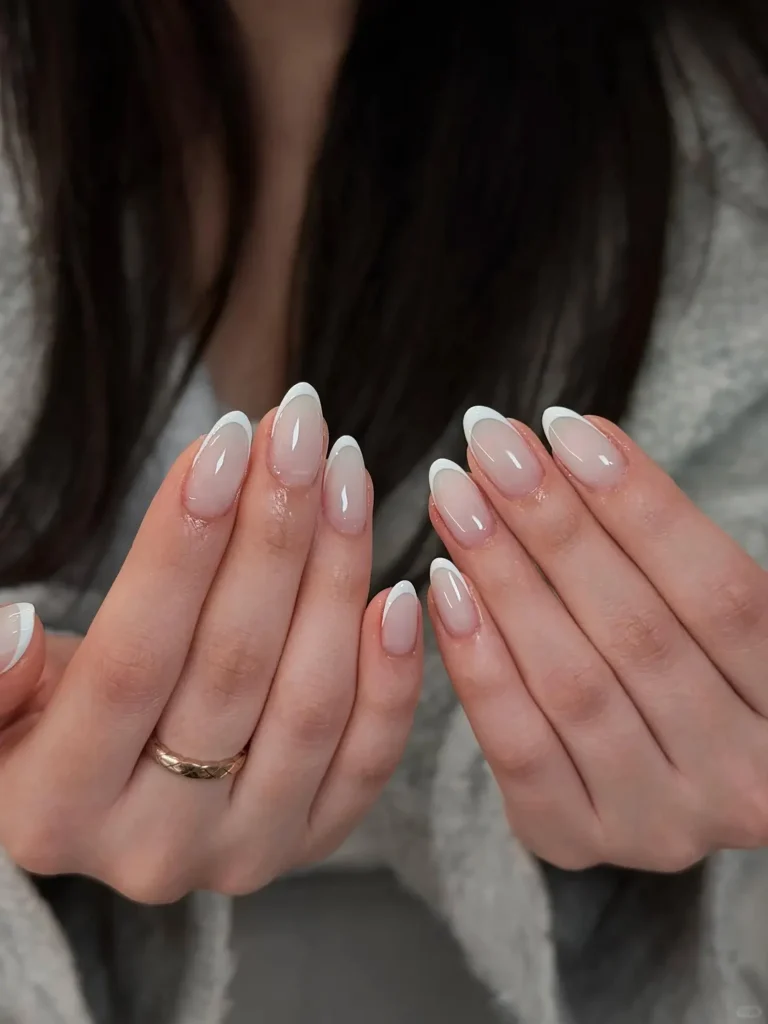
Paint all ten nails in a sheer pink or beige, then finish the ring finger in glossy black. It’s the gentlest way into Halloween nails, because nine fingers still look like an everyday neutral. Choose a nude close to your natural nail bed so the black reads as a deliberate accent rather than a stark patch. Black polish usually needs two thin coats for even coverage, while sheer shades look better built up lightly. If the contrast feels too sharp for work, swap the black for deep burgundy.
A Tiny White Ghost on the Ring Finger
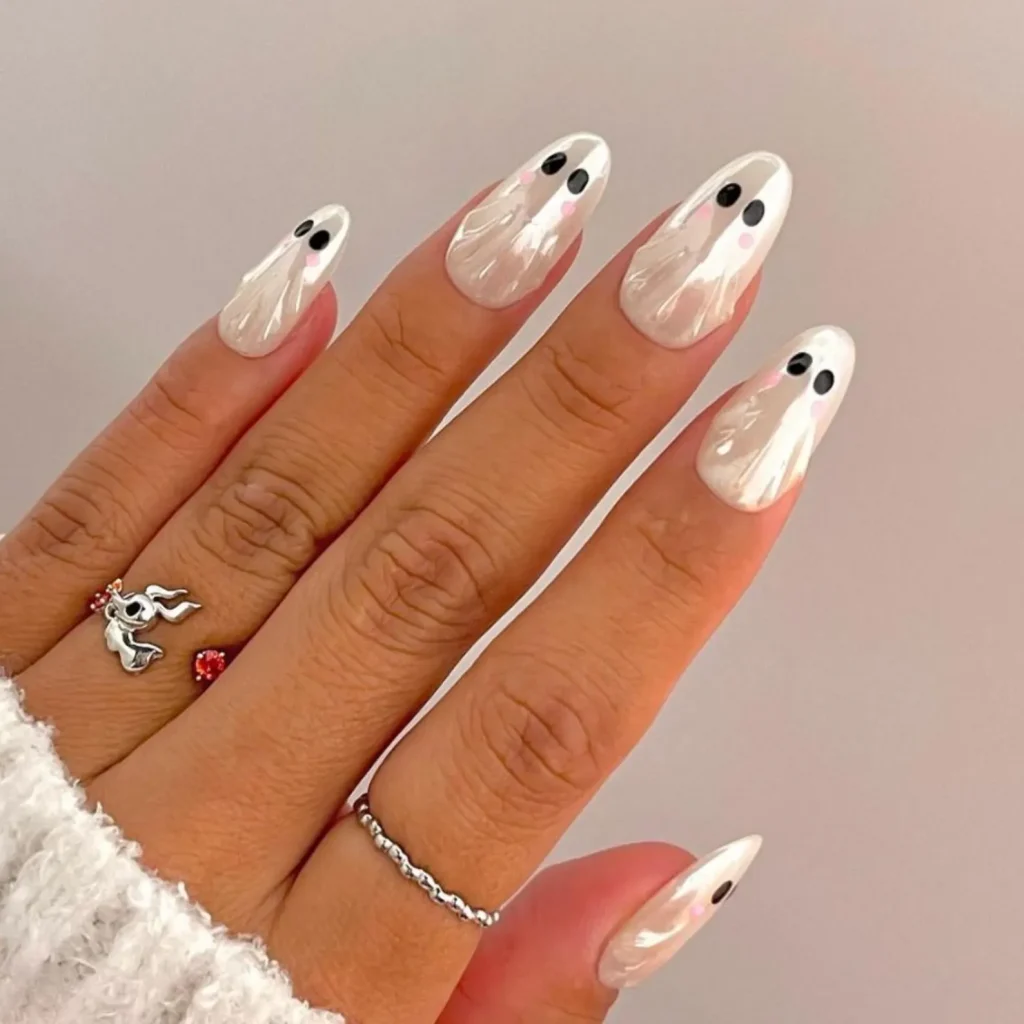
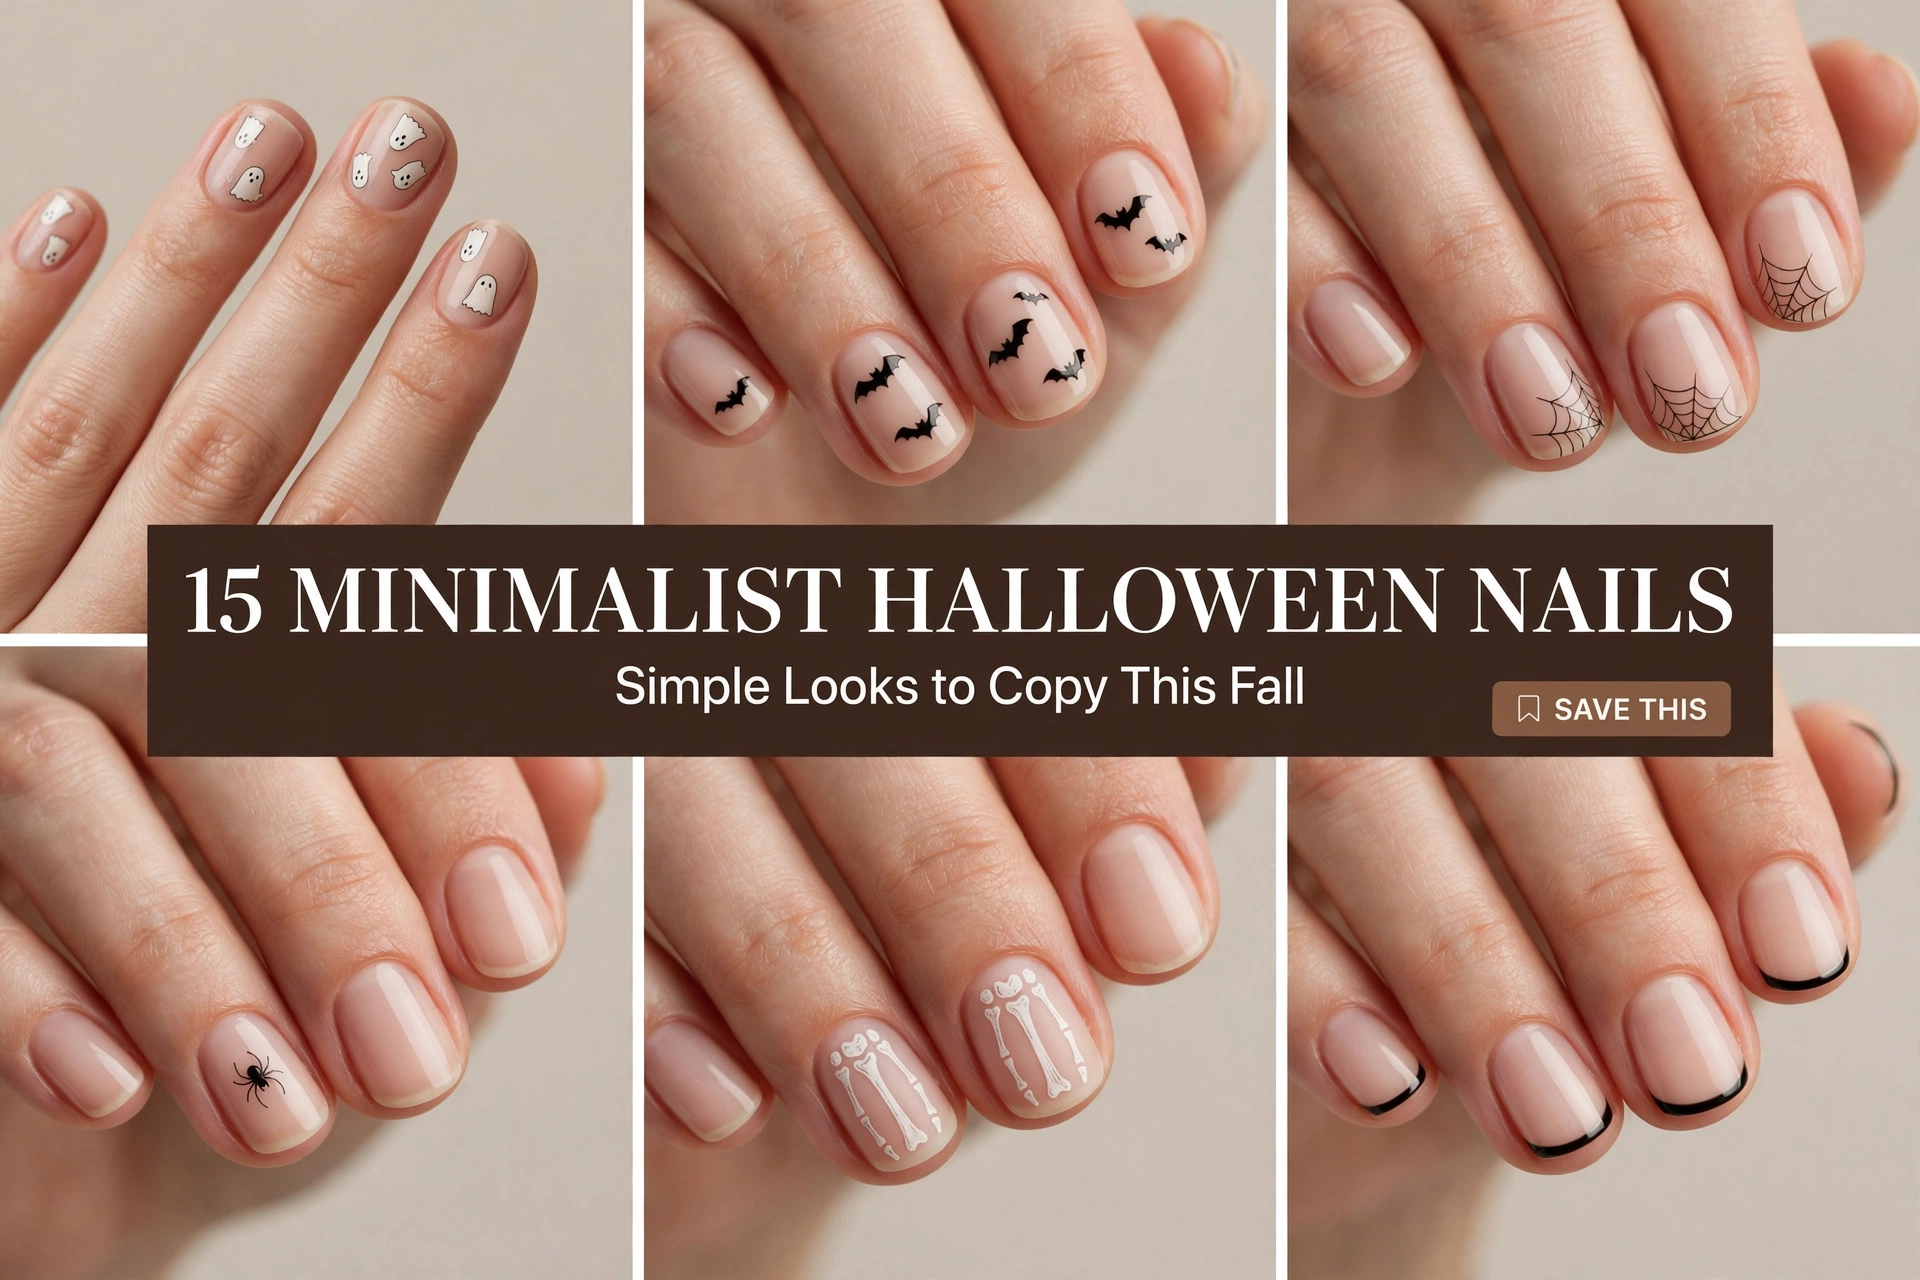
Start with a milky white or soft ivory base on every nail, then add one small ghost on the ring finger: a rounded head, a slightly wavy hem, and two dot eyes in black. Keep the ghost small and leave plenty of empty nail around it. That restraint is what keeps it minimalist. A dotting tool handles the eyes, and a thin detail brush draws the wavy bottom edge. If freehand feels risky, a small ghost nail sticker under top coat gets a similar result.
Short Matte Black Squares

A full set of matte black on short, softly squared nails looks like a Halloween manicure and a fall wardrobe staple at once. The matte finish is the whole idea: it absorbs light and feels more modern than glossy black. Keep the length short so the color looks sleek rather than heavy. Matte top coat is applied over cured or fully dry color, and it’s worth knowing that matte surfaces can show oils and smudges more easily, so wipe your hands before photos or events.
Micro French Tips in Pumpkin Orange
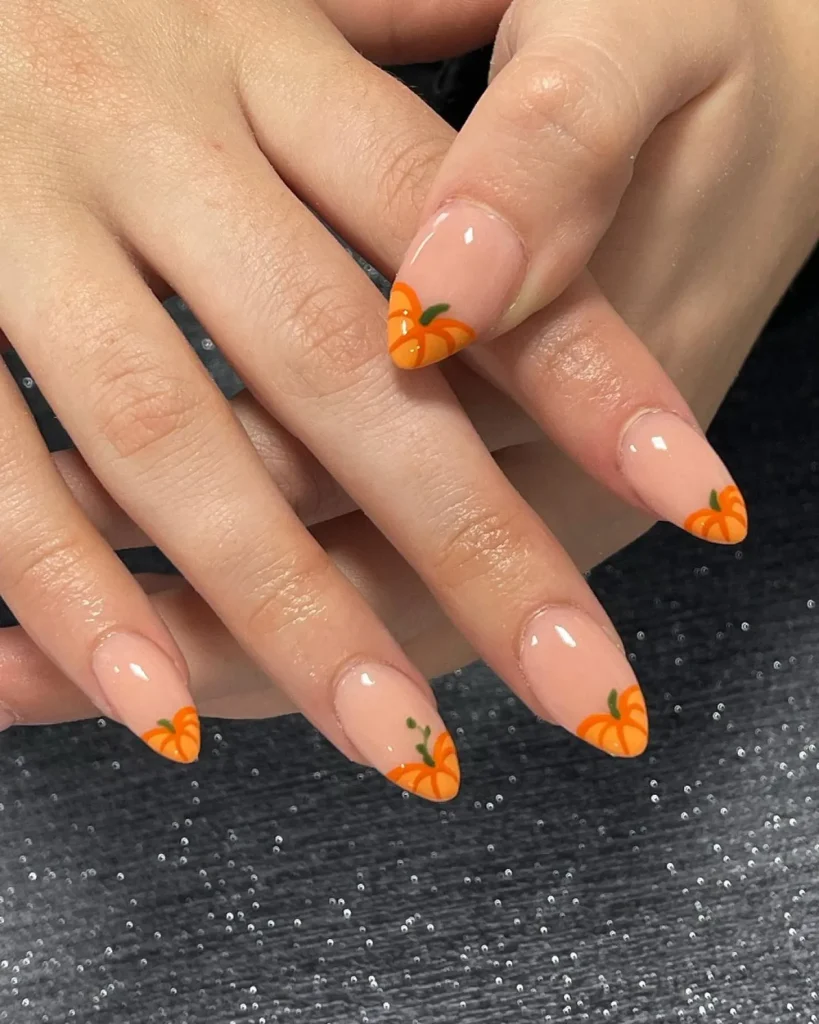
A classic French manicure gets a seasonal twist when the white tip becomes a thin line of pumpkin orange. Aim for a tip no wider than a couple of millimeters, drawn on a sheer pink or milky base. Because the line is so slim, a slightly muted orange with a hint of brown looks more refined than a bright traffic-cone shade. Tip guides help at home, and a steady rest for your wrist matters more than any product. Rounded or short almond shapes follow the curve of the tip naturally.
One Fine Cobweb Corner on a Clear Base
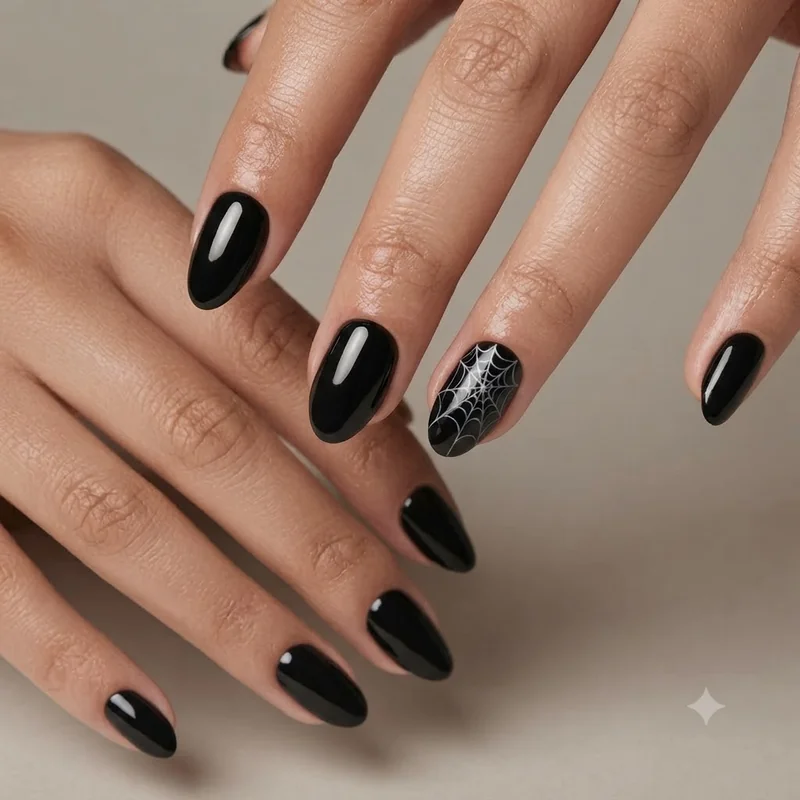
A sheer, glossy base with a single cobweb drawn in the corner of one or two nails nods to Halloween without covering the nail. Think of three or four curved lines fanning out from one corner, crossed by a couple of shallow arcs. A thin liner brush and black polish or gel liner give the cleanest lines, and it helps to keep the brush nearly dry of excess product. Place the web at the same corner on each accented nail so the pattern feels planned.
Pinpoint Black Dots on Milky White
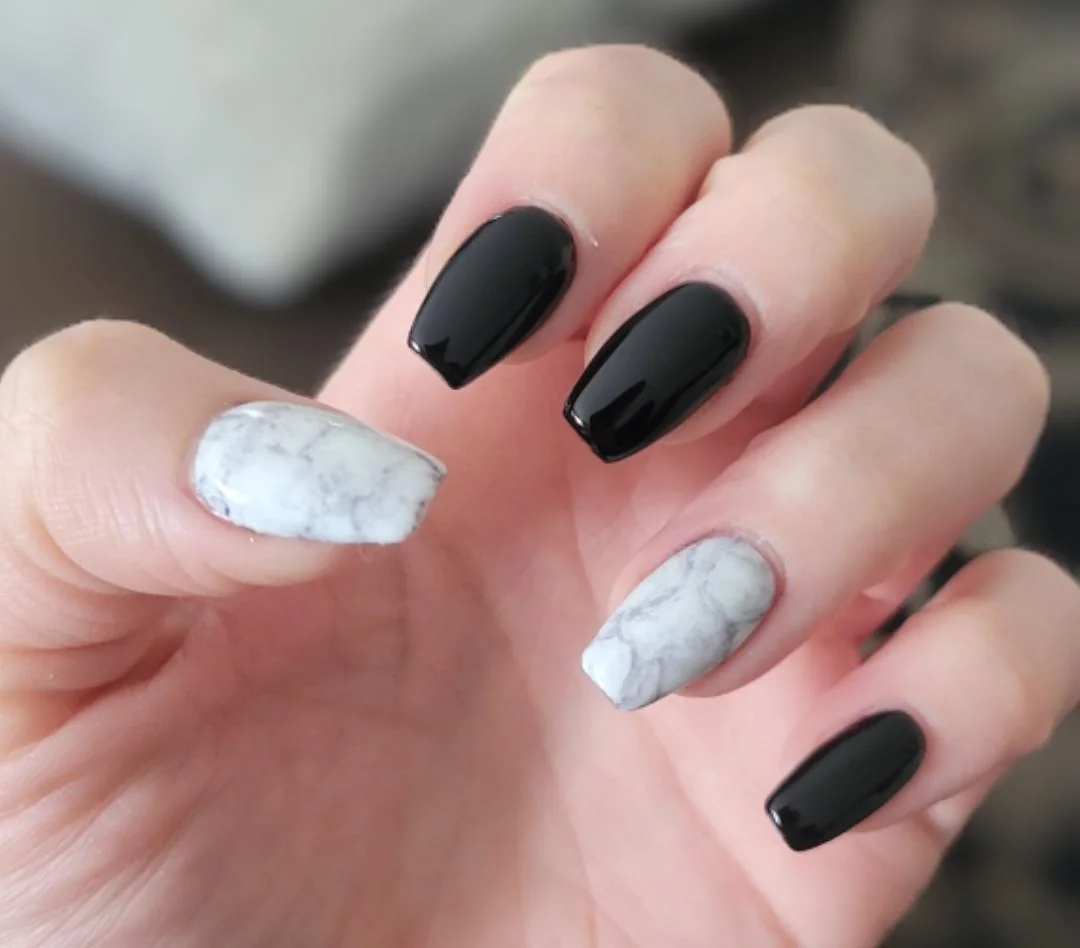
Scatter a few tiny black dots across a milky white base, as if someone sprinkled pepper over a bowl of cream. Use the very tip of a dotting tool, and vary the placement from nail to nail rather than repeating the same pattern. Leave some nails nearly bare for a relaxed rhythm. The look is forgiving, since slightly uneven dots only add to its handmade character, which makes it a good first nail art project for beginners.
Burnt Orange Cream on Short Rounds
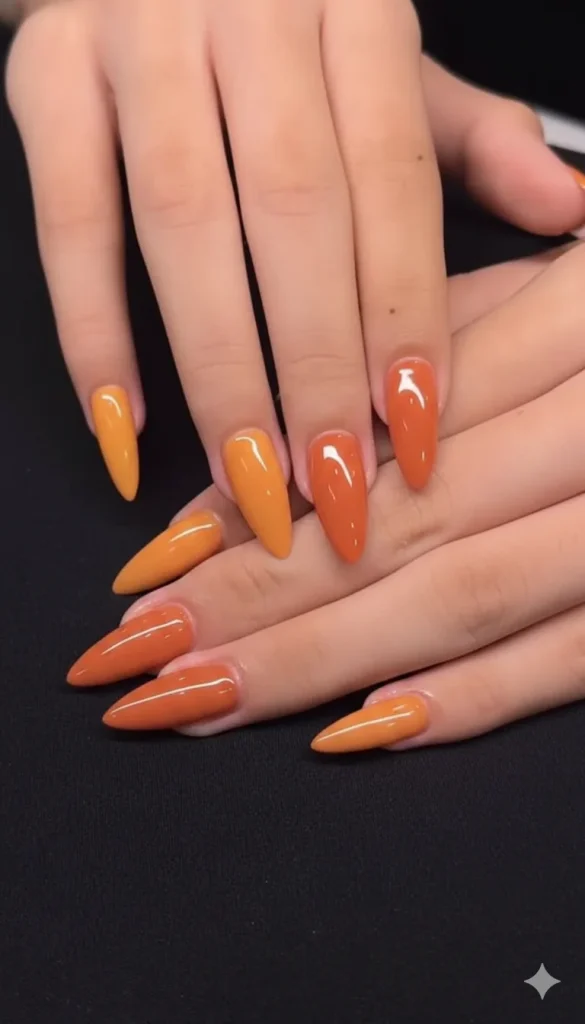
Skip the nail art entirely and let one rich color do the work. A burnt orange cream polish, closer to rust than to pumpkin, looks seasonal, wearable, and quietly Halloween. Short rounded nails keep it understated. Cream formulas show brush strokes if the first coat is too thick, so apply thin layers and cap the free edge by running the brush along the tip. If orange feels bold, a deeper terracotta shade is a gentler step toward the same mood.
Reverse Half-Moons in Black

Instead of a color at the tip, place a thin black crescent at the base of each nail, right above the cuticle. The rest of the nail stays clear, nude, or pale pink. Reverse half-moons feel graphic and a little eerie without any obvious Halloween symbol. Reinforcement stickers or a steady liner brush help shape the curve, and it’s best to leave a hairline of bare nail between the black and your cuticle so growth is less noticeable.
Plum Jelly Gloss
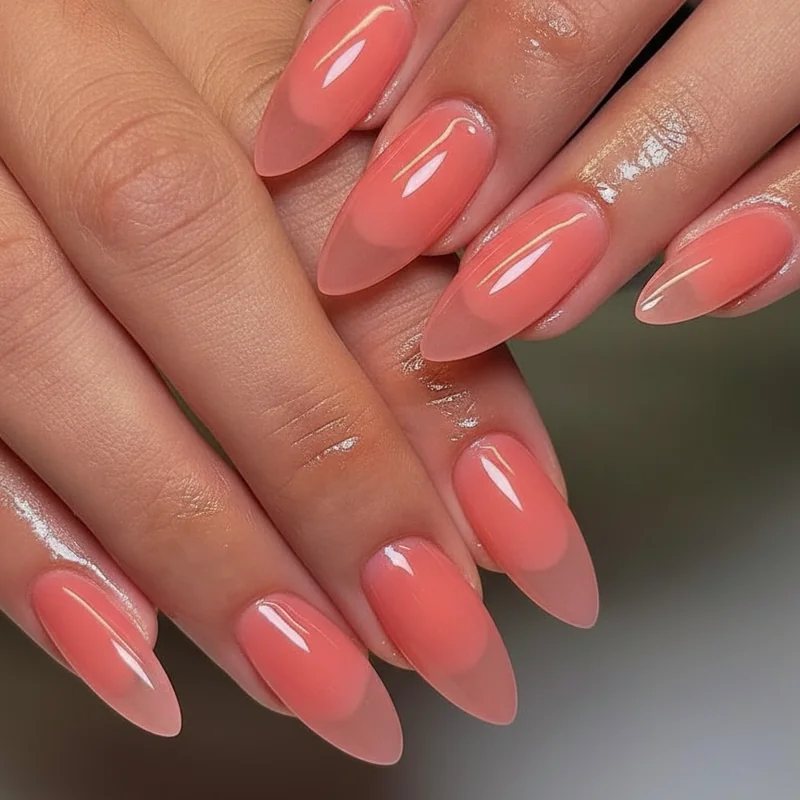
Jelly polishes are translucent, so a deep plum or oxblood shade lets a hint of the natural nail show through instead of sitting opaque on top. The result looks glassy and dark without feeling heavy. Build the color in two or three thin coats to control depth, and finish with a high-shine top coat. It’s one of the easiest looks to wear from daytime into a Halloween party, since the color reads moody rather than costume-like.
One Bold Vertical Stripe
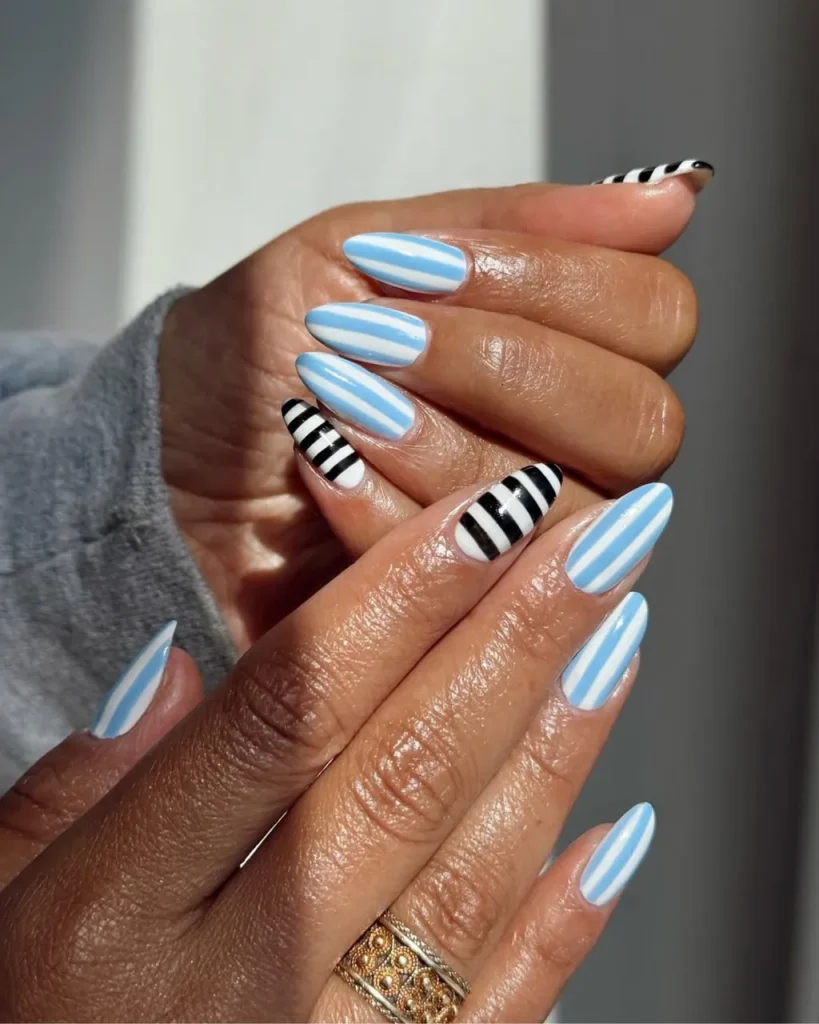
Draw a single thin black line straight down the center of each nail over a pale base, and the manicure suddenly looks like bones or a skeleton’s ribs without spelling it out. Clean, parallel lines matter more here than anything else, so use a long, thin striping brush and pull from cuticle to tip in one motion. For a softer version, use charcoal or dark brown instead of black, and for fewer steps, stripe only the middle and ring fingers.
Smoky Black Fade at the Tips
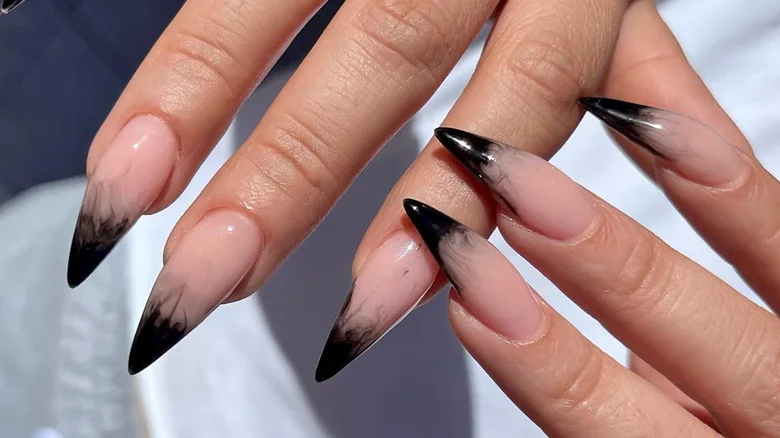
A soft gradient from sheer base to charcoal at the tip gives a burnt-edge effect that looks elegant rather than costume-like. A makeup sponge dabbed with black polish makes the fade at home, and building it in light layers keeps the transition smooth. Keep the black concentrated near the free edge and let it dissolve about halfway down the nail. Medium almond nails show the gradient well, but it works on short nails too if you keep the fade tight.
Flecks of Gold Foil on Black
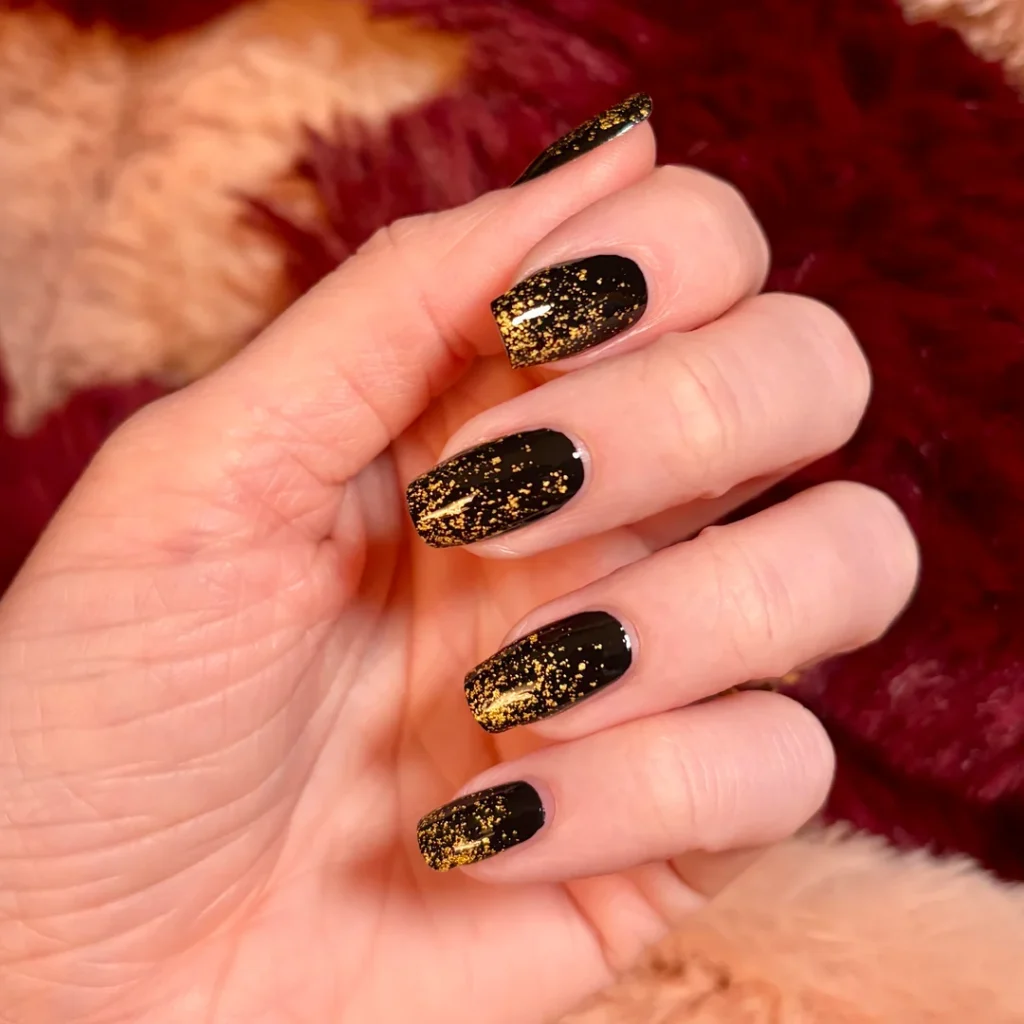
Gold foil adds just enough shimmer to make black polish feel considered. Press a few small flecks of gold leaf onto a tacky layer of black polish, seal with top coat, and keep the foil to one or two nails so the effect stays quiet. The foil’s irregular edges look like scattered sparks or tiny stars, and they pair easily with gold rings. Use tweezers or the tip of a dotting tool to place flecks, and avoid pressing so hard that the foil flattens into a single patch.
Moonlit Gray With a Pearl Sheen
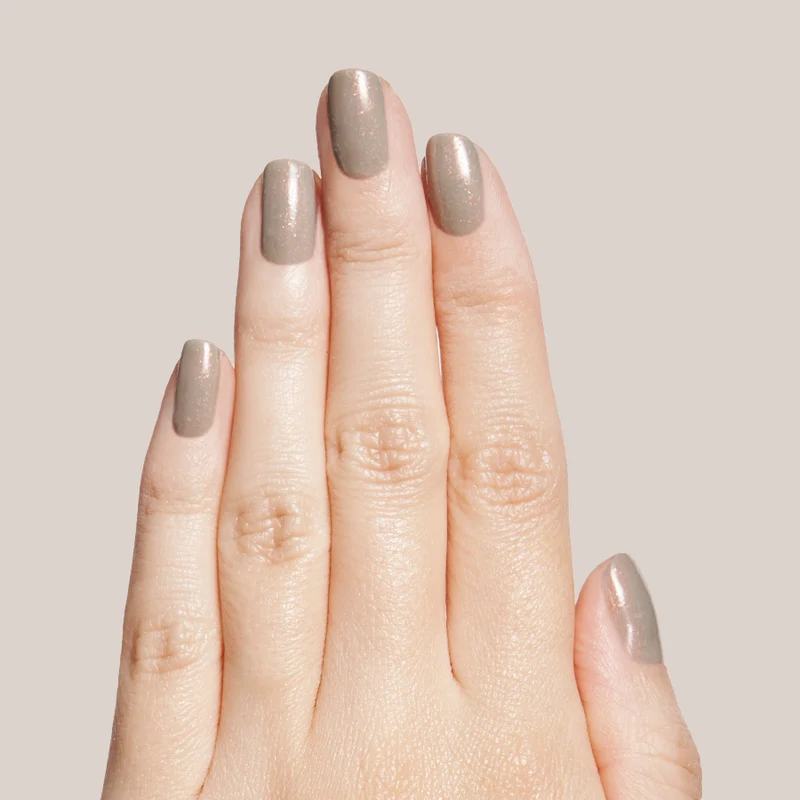
Halloween isn’t only orange and black. A soft gray with a pearly finish looks like moonlight on fog, and it fits neutral wardrobes year-round. Pick a gray with a little blue or lavender in it for a cooler effect. Pearl or shimmer polishes can show streaks if applied thickly, so use thin coats and let each layer dry. A glossy top coat helps the sheen read as luminous instead of flat.
Dark Green Velvet Cat-Eye

Magnetic cat-eye gel polish creates a shimmering band that seems to move as your hand moves. In a deep forest or bottle green, it adds a witchy note that feels different from the usual black. A small magnet is held over the nail before curing, and the band can be centered, angled, or placed near the tip depending on the effect you like. It’s generally a gel-based look, so many people book it as a salon service or use a home gel kit with a lamp.
Mix-and-Match Autumn Neutrals
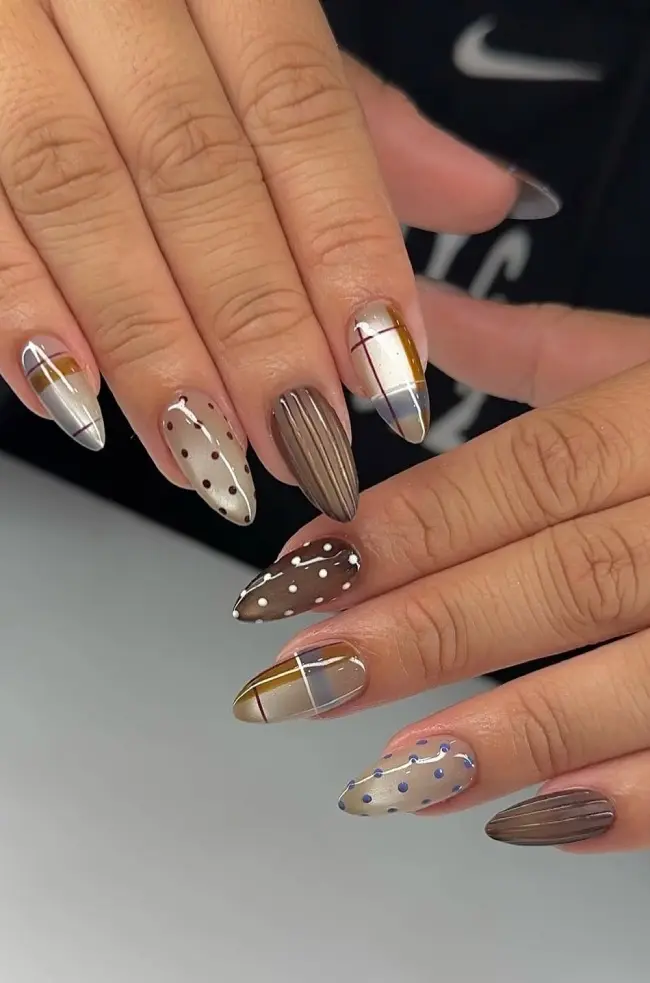
If choosing one color feels limiting, assign a different shade to each finger from a small palette: cream, rust, and black, with maybe one sheer nude. Repeat each color at least twice so the set looks planned. The mix reads as fall first and Halloween second, which makes it easy to wear all season. It’s also a practical way to use up polishes you already own, since nothing needs to match perfectly beyond staying in the same warm, muted family.