21 Witchy Halloween Nails: Moody, Magical Nail Ideas to Try
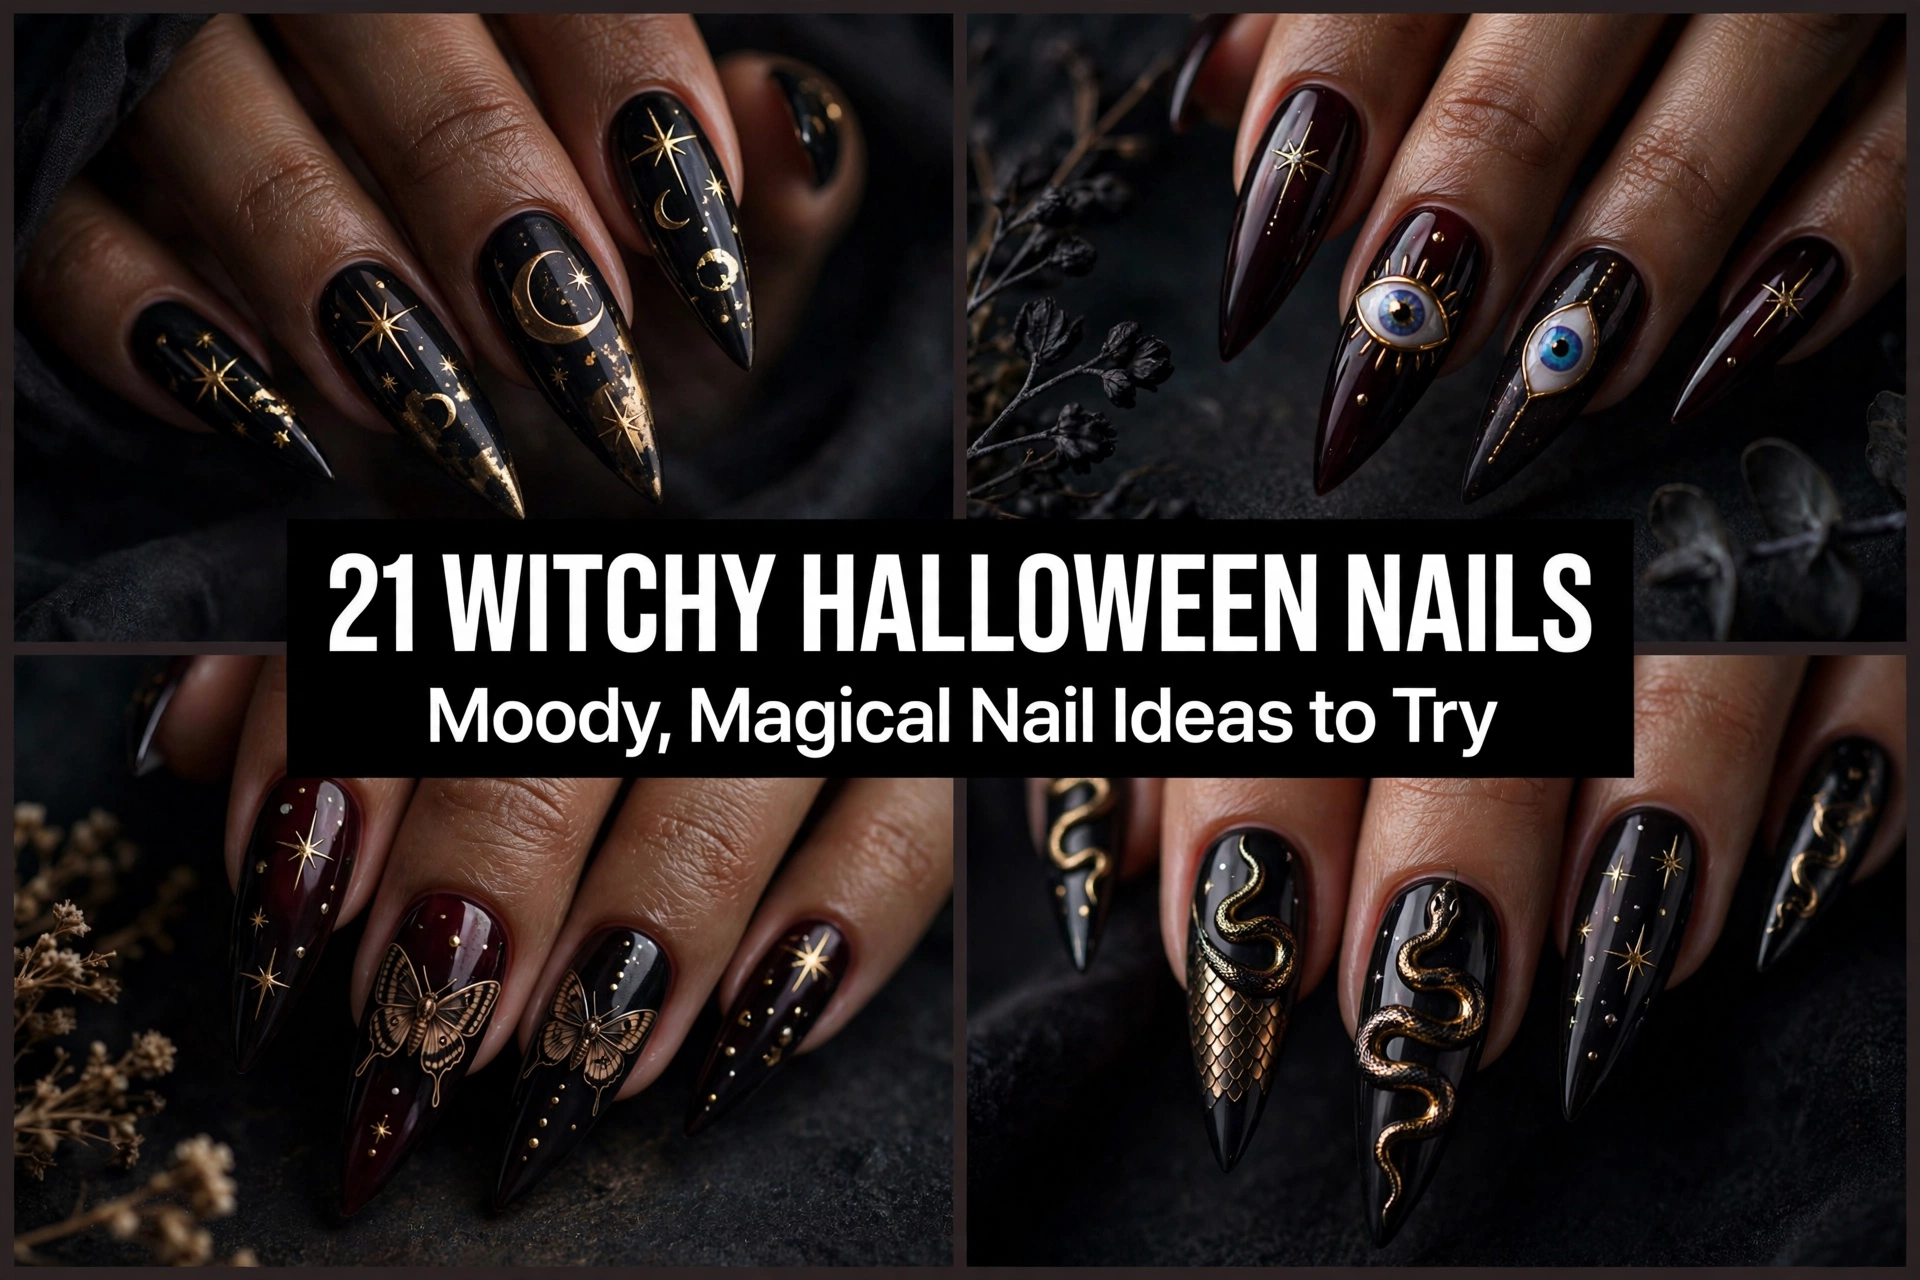
Witchy nails don’t need to look like a costume. The best versions borrow the mood of the craft: moon phases, candlelit amber, smoky gradients, dried herbs, tarot-style line art, and the deep jewel tones of an apothecary shelf. Many of them also work long after October ends.
The 21 ideas below range from simple polish-only looks you can finish at the kitchen table to detailed gel and chrome work better suited to a salon appointment. Each one includes the finish, the color story, and the practical details that matter, like which shapes suit the design and where beginners tend to go wrong. Pick one that fits your nail length and skill level, then build from there.
Matte Black Almonds With a Single Glossy Crescent Moon
A matte black base is the easiest way to get a witchy look. The contrast comes from one glossy detail: a crescent moon painted in clear top coat on the ring finger. It reads as a subtle shine that catches light as your hand moves.
Use a true matte top coat over black cream polish, let it dry fully, then paint the crescent with a thin brush and regular gloss top coat. Almond shapes suit the design because the tapered tip echoes the curve of the moon. Keep the moon small and slightly off-center, since a perfectly centered one can look stiff. This is a good first project for polish-at-home beginners.
Plum Velvet Cat-Eye Nails
Magnetic gel polish creates a shimmering line that shifts as you move your hand, a bit like light moving through a crystal ball. In deep plum, the effect looks soft and velvety rather than loud.
Apply two thin coats of the magnetic gel, hold the magnet near the nail for a few seconds before curing, and finish with a glossy top coat. A short square or squoval shape lets the reflective band show clearly. If the line looks muddy, the polish was likely applied too thickly. Magnetic kits are widely available for home use, and the shimmer looks salon-level once it’s cured properly.
Midnight Navy With Hand-Drawn Silver Constellations
Dark navy feels softer than black while still delivering the night-sky mood. Tiny silver dots connected by hair-thin lines turn each nail into a star chart.
A dotting tool and a fine liner brush are all you need. Place the dots first, then connect a few of them rather than all of them; the open space is what makes constellations look real. Silver or pale gold both work. Metallic polish tends to show brush streaks, so work in thin layers and seal with a glossy top coat once everything has dried.
Moss Green Potion-Bottle Nails With Gold Foil Flakes
Think of an old apothecary bottle held up to a window: murky green with flecks of gold suspended inside. A sheer olive or moss green polish with torn gold foil gives that effect.
Apply the green in two coats, then press small pieces of gold foil flakes onto a tacky top coat with a silicone tool or the tip of a brush. Seal everything with a thick top coat, or two, so the edges don’t snag on sleeves. The look sits comfortably between at-home and salon difficulty. Short or medium coffin shapes work well, and the green keeps it from feeling like a standard Halloween palette.
Black-and-White Spiderweb French Tips
A classic French tip gets a darker update: black tips with a fine white web stretched across one or two nails. It’s a recognizable Halloween motif, but the restrained palette keeps it grown-up.
Paint a black tip first, then use a thin liner to draw a few straight lines from one corner, and connect them with small curved arcs. Fewer lines look cleaner than a dense web. Short square nails give the design a graphic, almost editorial feel. Stick to an accent nail or two so the manicure doesn’t get busy.
Smoky Black Ombré Like Cauldron Steam
Instead of a solid color, this look fades from sheer clear at the cuticle to dense black at the tip, mimicking smoke curling up from a cauldron.
A makeup sponge dabbed with black polish and pressed onto the nail gives the soft gradient, and several light layers build the depth. It’s forgiving because the blended edge hides small mistakes, and it grows out gracefully. Long almond or stiletto nails give the smoke more room to drift. A glossy top coat adds depth to the gradient.
Tarot-Inspired Gold Line Art on Cream
Not every witchy manicure has to be dark. A soft cream or ivory base with delicate gold sun, moon, and star symbols feels like a tarot card come to life.
Draw each symbol on a different nail so the set reads as a spread. A fine detail brush and thin layers of gold polish keep the lines crisp. Mark light guide dots first if you want symmetry. Short oval nails make a good canvas. This one suits readers who want a gentle, mystical look rather than a spooky one.
Oxblood Gloss With Tiny Gold Stars
Deep oxblood is warm, rich, and flattering on many skin tones. Tiny gold star decals or stickers scattered on two or three nails make it feel enchanted without overcomplicating the design.
Apply the polish in two glossy coats, let it dry, then place the stars with tweezers and seal with top coat. Gentle placement matters: scatter them unevenly rather than in a row. This is one of the easiest looks on the list and works with any nail length.
Mirror Chrome Crystal-Ball Nails
A mirror chrome finish reflects its surroundings and gives nails that crystal-ball look. Silver chrome powder over a black gel base makes the reflection sharper and more dramatic.
This one works best in a salon, where the powder can be burnished onto a no-wipe gel top coat for an even finish. If you try it at home, use a dedicated chrome kit and expect a short learning curve. Round or short almond shapes show the curved reflections clearly. Avoid heavy hand lotion before applying so the powder bonds well.
Black Stiletto Nails With a Crystal Cluster
For a more dramatic, collectible look, a single raw-crystal-style cluster on one nail brings the whole set together. Think of a quartz formation rising out of a black stone.
This is salon territory. A technician builds the cluster with 3D gel and small rhinestones in varied sizes, usually on the ring finger. The remaining nails stay glossy black so the cluster takes center stage. Because the design is raised, it’s worth discussing wear and daily tasks with your technician before booking.
Milky Lavender With Silver Moon Phases
A soft, sheer lavender is the pastel entry point to witchy nails. A row of silver moons from new to full, one per nail, gives the set a quiet, meaningful structure.
Use a milky lavender base, then paint small circles with silver polish and shade one side with the base color to create each phase. It takes patience but not special tools. Short oval nails keep the look delicate. The pale base is forgiving of tiny shape imperfections.
Black Cat Silhouette on Dusky Violet
A single black cat silhouette on a dusky violet accent nail adds playful charm without going full cartoon. The other nails stay solid violet so the cat is the only focal point.
Paint a small arched cat shape with a thin brush: round body, two triangle ears, a curved tail. A tiny pale yellow dot for an eye is optional. The design is forgiving because silhouettes don’t require precise detail. Medium squoval nails give the cat space to sit.
Oil-Slick Beetle Shimmer
Oil-slick polish shifts between green, purple, and blue depending on the light, like a beetle’s shell or a puddle with a thin film of oil. It looks mystical without needing any art.
Apply over a black base for the strongest shift. Duochrome and multichrome polishes show well on almost any nail length. One or two thin coats, then top coat. It’s an easy way to get a high-impact finish with one product.
Pressed Botanical Nails Sealed Under Gel
Tiny dried flowers or herb leaves sealed under clear gel give a handmade, apothecary feel. Think of pressed flowers inside a spell book.
A technician places dried botanicals on a sheer base and covers them with several layers of gel. At home, use only products made for nails and thin, nail-safe dried flowers. The result is more muted and earthy than most Halloween manicures. Longer nail beds and short ovals show off the detail best.
Blood-Moon Red on a Black Gradient Sky
A deep red circle glowing against a black-to-charcoal gradient nods to a blood moon without being literal. One or two accent nails are enough.
Sponge a soft black-to-charcoal gradient first, then dab on a red circle with a dotting tool and soften its edge with a clean brush. A thin line of gloss top coat over the circle only keeps it luminous. Medium almond nails balance the circular shape well.
Short Black Jelly Nails With Gold Crescents
Jelly polish is translucent, so it lets a hint of the natural nail show through. In sheer black, the effect is smoky rather than solid, and small gold crescents add a quiet focal point.
It works best on short nails and is easy to wear every day. Build the color in two or three thin layers, add the crescents with a striper brush or small decals, and finish with gloss. Because jelly shows streaks easily, thin coats are the key.
Gold Serpent Line Art on Black
A thin gold serpent curling around a black nail looks like a piece of jewelry. It’s a good option for readers who like mystical symbols but not obvious Halloween themes.
Paint a long S-curve with a fine liner, taper the tail, and add a tiny head at the end. Practice on a nail wheel or paper first. Gold polish can look uneven, so use two thin passes. Medium coffin shapes give the line room to curve.
Amethyst Geode Nails
Layered translucent purple, white glitter, and a thin gold edge create the look of a split geode. The result is eye-catching on one or two accent nails.
Salons usually build this with gel layers and fine glitter. Edit the look for home by using a translucent purple base, sparkle polish, and a thin gold line. A medium almond or short coffin shape works well. Place the geode design off to one side of the nail for a natural look.
Third-Eye Accent Over Soft Nude
A small open eye painted on a single nail is a protective symbol in many traditions, and it makes a subtle conversation starter. Keep the rest of the set nude and glossy.
Draw a thin almond-shaped outline in black, add a tiny circle for the iris, and one or two short lashes. It takes a steady hand, so use a fine liner and practice first. Short almond nails keep the look understated.
Candle-Flame Amber Ombré
Warm amber fading into black mimics the flicker of a candle in a dark room. It’s one of the more wearable fall-leaning looks on the list.
Sponge the gradient from amber at the cuticle to black at the tip, or vice versa. Add a small dab of gold shimmer near the transition for a glow. Medium coffin or almond shapes show the shift best. Seal with glossy top coat.
Black Lace Overlay on Sheer Nude
Delicate lace patterns over sheer nude evoke a witch’s shawl. It’s romantic, slightly gothic, and works with many outfits.
Salons can apply lace-pattern stickers or hand-paint them; at home, nail lace stamping plates and a stamper do the job. Seal with a gloss top coat so the edges lay flat. Short square or oval nails keep the lace readable.